The clutch cover bolts are 5/16 allen and you will need a belt tension gauge you will also need 9/16 and 1/2 wrenches and sockets, some RTV sealant, and loctite. I
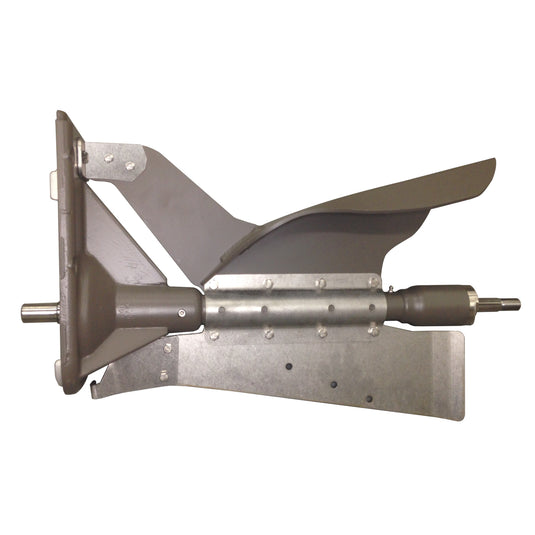
Disassemble the Drive:
1) Remove the 6 or 8 clutch cover bolts. Split the clutch cover seal using putty knives and rubber mallet if necessary.
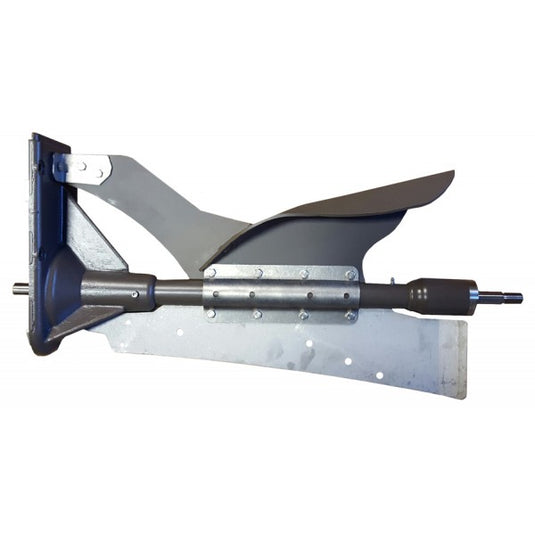
2) Loosen the 12 belt tension adjusting bolts on the outdrive casing and the vertical belt tensioning screw on the back of the outdrive so the casing slides. Push up on the outdrive casing until it bottoms out in the up position and tighten one of the 4 inside bolts to hold it in the up position.
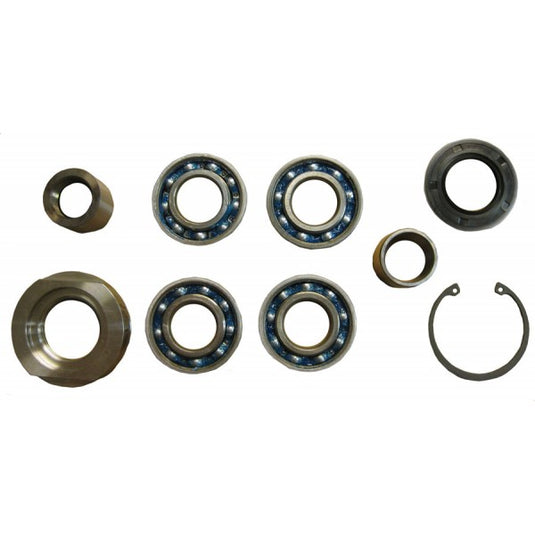
3) Loosen the lower drive housing bolts and crack the seal on the housing, remove the bolts and the drive.
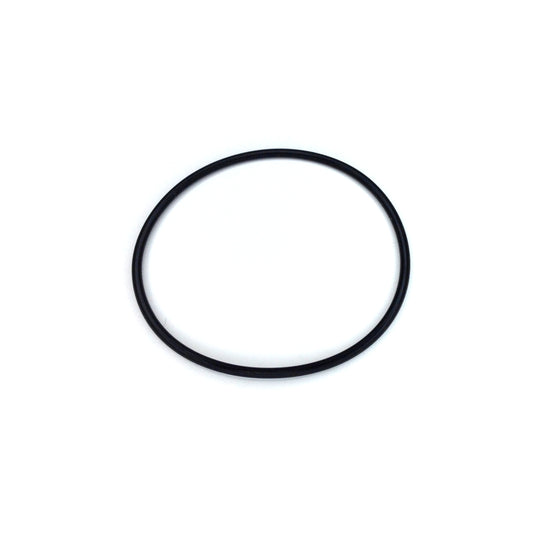
4) Clean off the old sealer from the outdrive casing, lower driver housing, and clutch cover. To clean it all off, you can use a green scouring pad but you only need to remove the loose stuff.
Change the Gear:
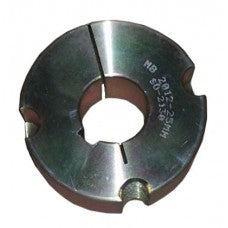
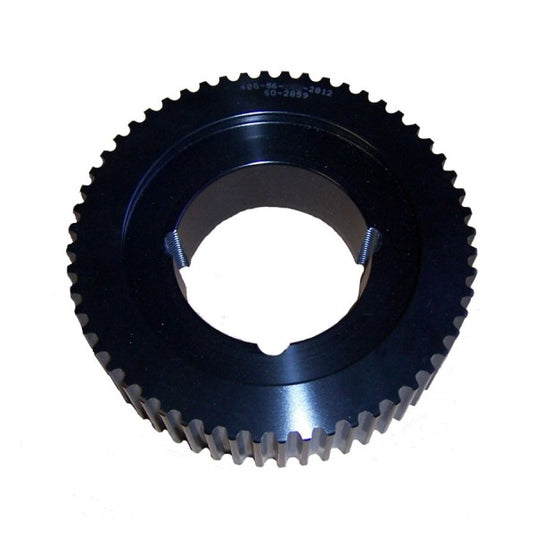
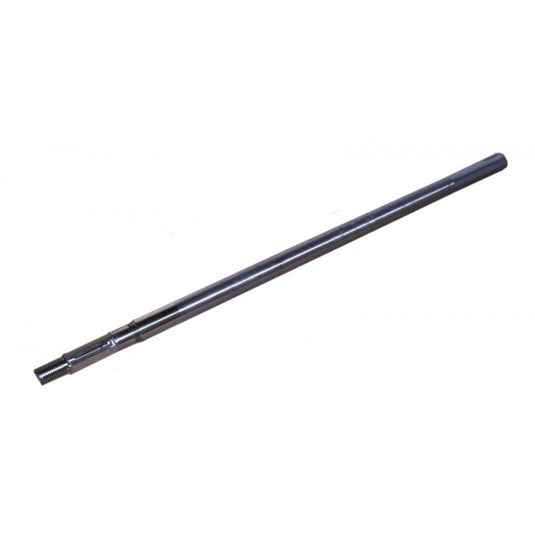
5) You take out the 2 allen head set screws out of the old gear. Insert one of them into the odd hole, and as you tighten it up the gear will push off of the taper lock. Sometimes the gear is stubborn, while tightening the allen wrench in the odd hole, lightly tap on the gear face with a rubber mallet to release it. When it comes off you will need to put spacers behind the gear so the taper lock will push off of the shaft (they usually are not very cooperative in coming off). I found a gear puller makes the job easier. Putting a fiber taper wedge in the end of the slot of the taper lock and slightly tapping it in can make is really easy to come off (be careful not to split the taper lock). Once you get the taperlock off of the shaft, put it into the new gear and start the 2 allen head bolts finger tight only, then slide onto the shaft/keyway. When it bottoms out tighten it up fully, then remove the bolts one at a time, put (red) Loctite on them and re-install.
Reassembly:
6) Apply a 1/8 inch bead of Sealant (Either CarQuest Sensor Safe Supreme Black Gasketing Silicone (CCM26886) or Permatex Ultra Black Hi Temp RTV Silicone Gasket Maker) to lower outdrive housing (not the casing). Be sure to apply around the bolt holes. Apply Blue Loctite to the bolts for the lower housing. If you are using the spaghetti gasket on the newer drives, put it in place in the groove in the outdrive housing. Cut it to length with the connection at the top of the housing. You can use a few dots of silicone sealant to hold it in place.
7) Put the outdrive up in place, making sure to mesh the gear with the belt properly and get the 5 bolts holding the outdrive started by hand, but do not tighten them yet. Loosen the bolt holding the outdrive casing up so the outdrive slides and you put tension back on the belt then retighten the top bolt. Reach in and grasp the belt and squeeze it together, thus raising the lower outdrive about 1/16" in the bolt holes. Now tighten the outdrive bolts down and torque to 130 inch pounds. (The new sealer may squish out onto the outside of your drive. It's easier to remove it after it has dried.)
8) Next you will have to adjust your belt tension. Loosen the top bolt on the inside of the casing and remove the center vent plug on the side of the outdrive casing. Take your drive out of travel lock, trim the drive level and turn it to access the belt tension adjusting bolt on the back of the sid of the outdrive casing. Begin adding tension on the belt by tightening the belt tension adjuster using two 9/16 wrenches. Move the rubber o-rings on the tension gauge to zero. Insert the tension gauge in the side hole against the belt with the black rubber end out. Turn the barrel of the gauge so the 'Inches' side is shown and with the gauge just touching the belt, make a note where the barrel is even with the outdrive. Then move the o-ring on the outside barrel to 1/4" past the reading where its even with the outdrive to mark how far you will deflect the belt to get your tension reading. Push the gauge against the belt for 1/4" deflection (as read on the side of the gauge). Release the tension and read where the o-ring on the tension scale marks the pressure required to deflect the belt. A used belt should be tensioned no more than 16 lbs at 1/4" deflection. Turn the belt tension adjustment bolt to add tension as required, 1/2 turn on the bolt will increase the belt tension about 2 pounds.
For more details on tensioning your belt, take a look at our video below.
9) Once the tension is set, tighten all the bolts on the outdrive casing and the lock nuts on the belt tension tensioning bolt. The two 1/2"head bolts under the belt will require switching an open end around several times. It is slow going but needs to be tight. A 1/2" crows foot wrench makes it easier to get those bolts.
10) Put a 3/8 bead of silicone on the area between the lower unit and clutch cover case and a bead all the way around the face of the outdrive casing if spaghetti gasket is not used.Re-install the clutch cover using blue loctite on all the cover bolts.
11) Go drive it like you stole it.
More details about the drive in this video: https://www.facebook.com/101982233219953/videos/1624294987655329/
Belt tenisioning instructions: